
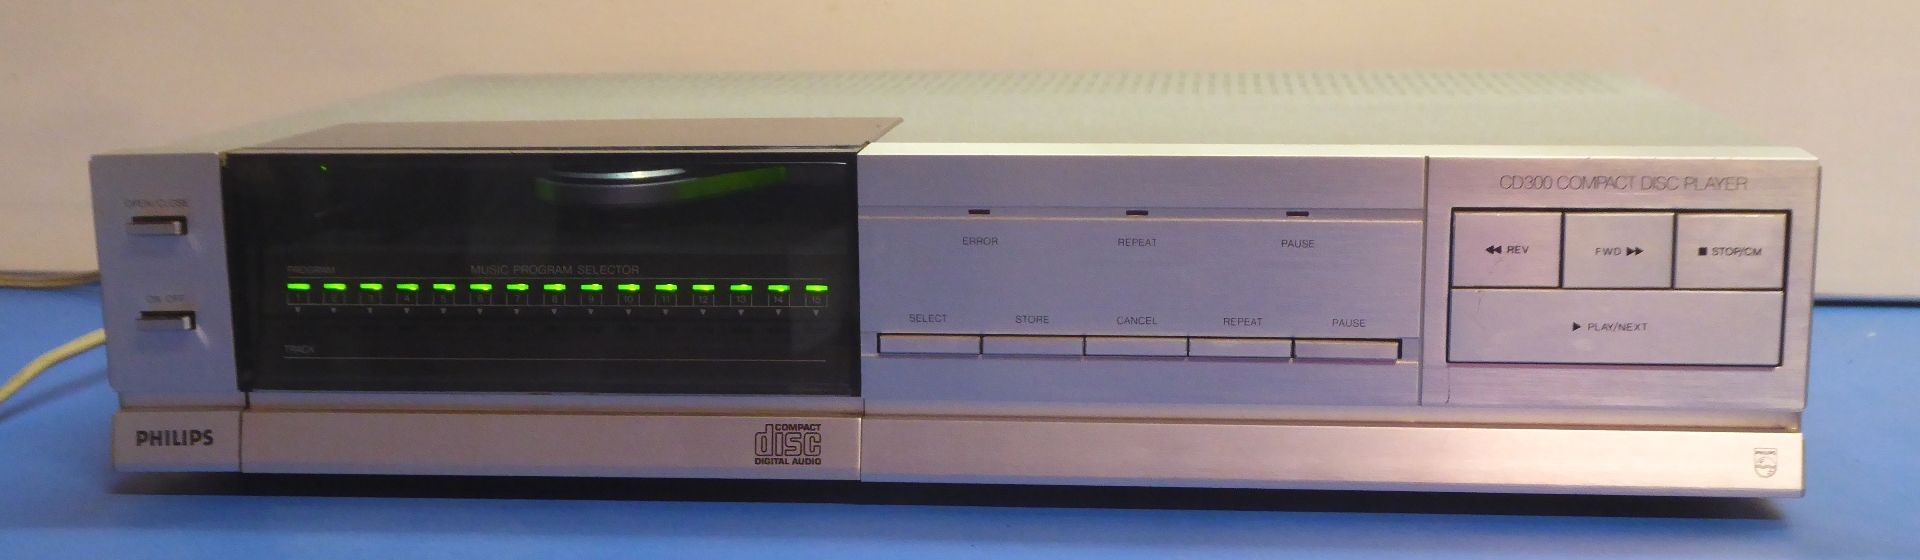
Philips CD-300 recap/repair November, 2022
To compensate for the amount of room other pieces entering my house need, this one was sold.(2022?)
Gemakshalve is deze pagina verder in het Engels geschreven.
![]() This page is written using English language only.
This page is written using English language only.
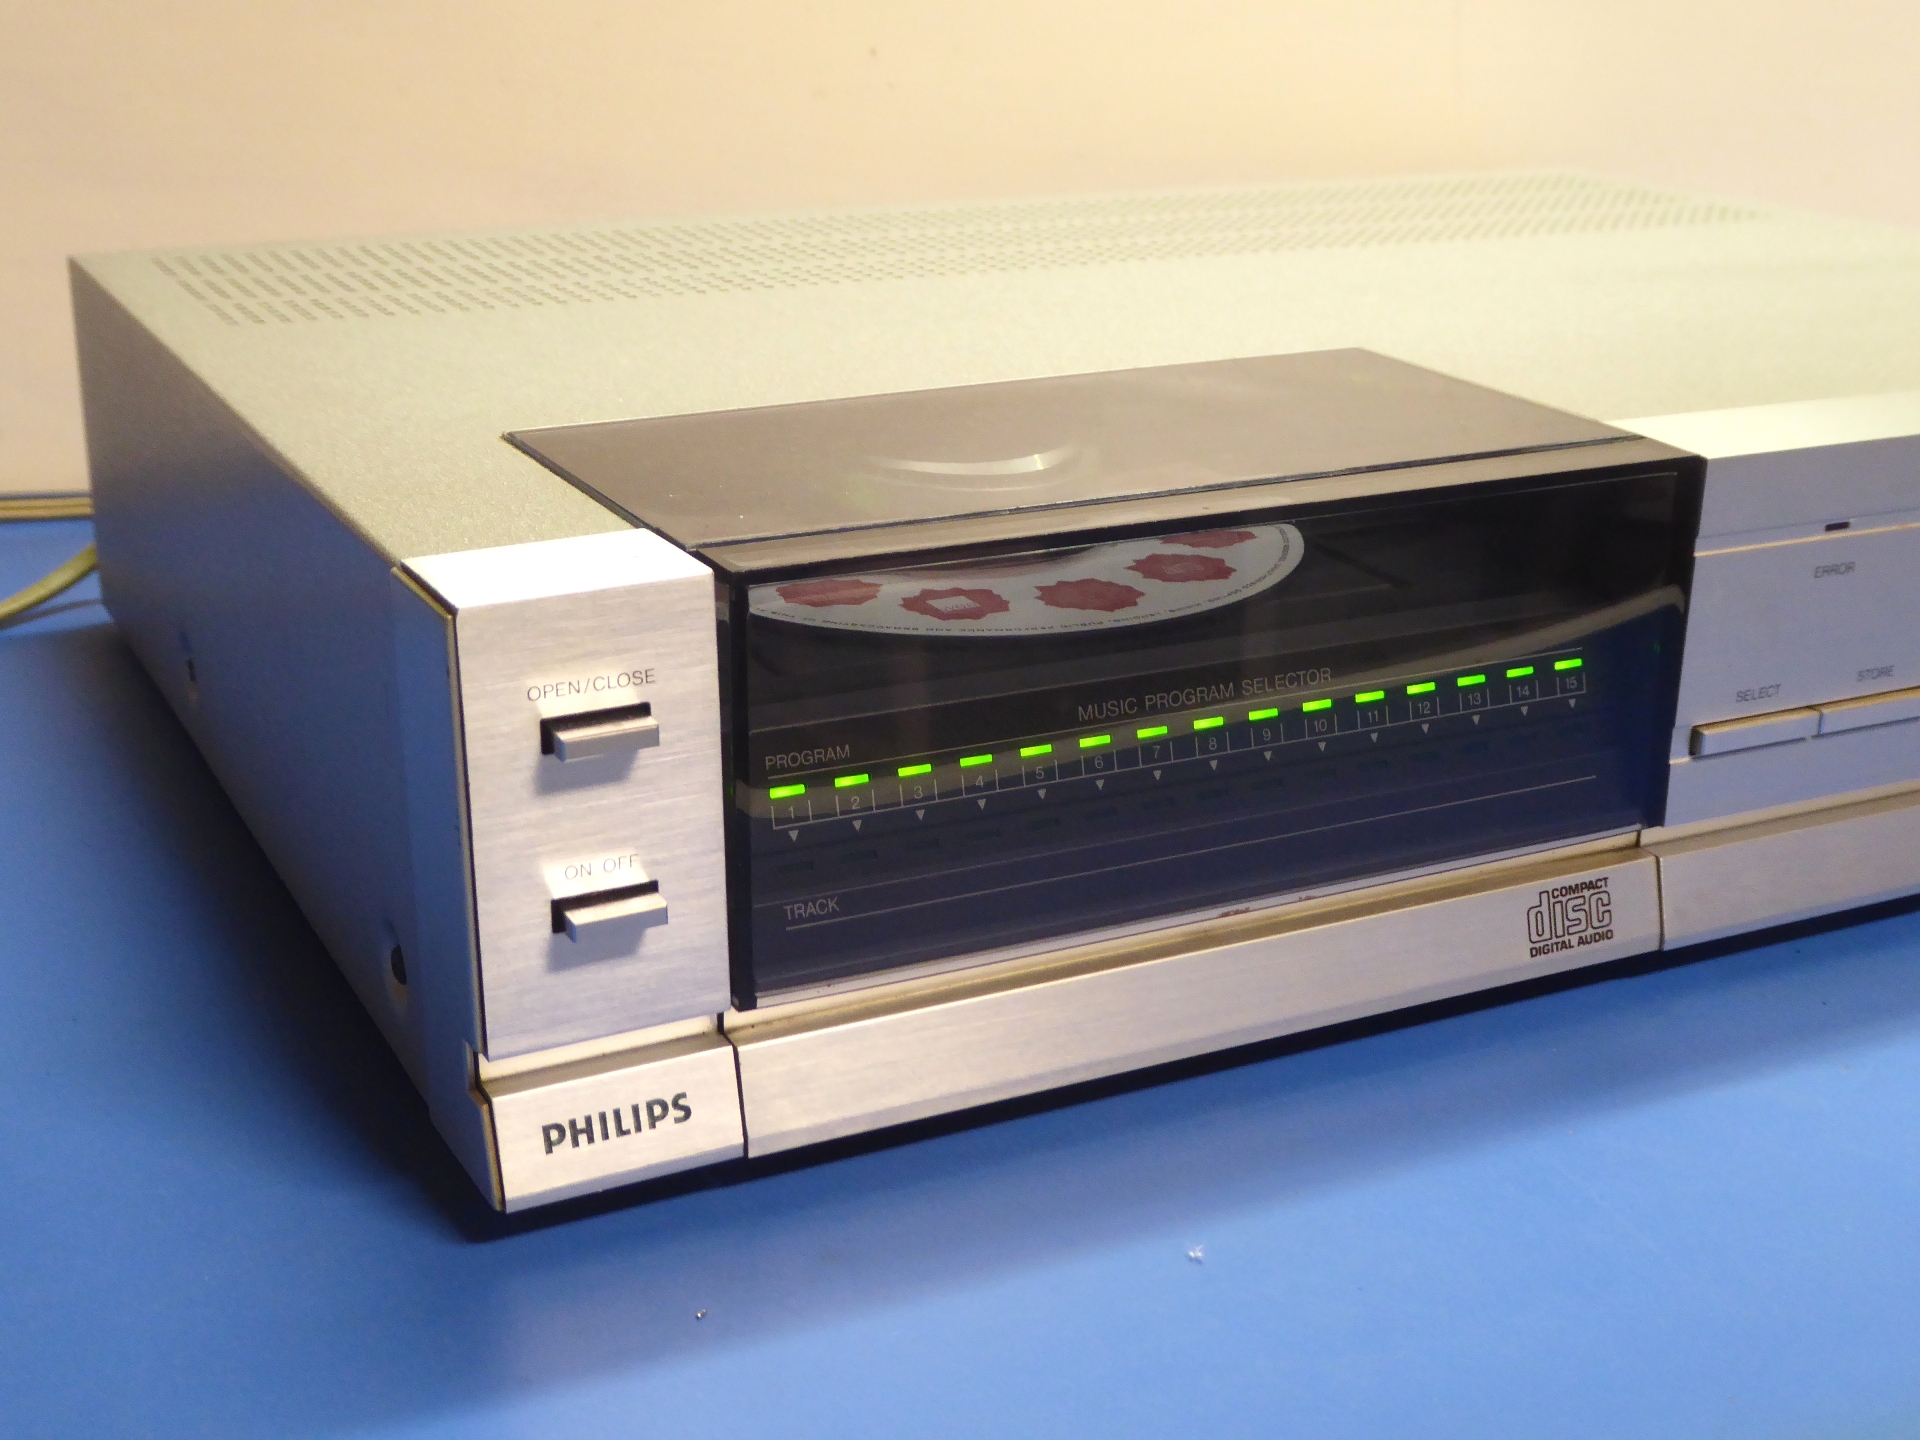
My Philips CD300, a 1983 real collectors item preceding the CD303, having the famous CDM-0 (I think..are all CDM-0 the same?) mechanism. Imagine, it to be close to 40 year old!
It went "sounding no good", some hickup/weird distortion happened, so it was time to take it apart.......

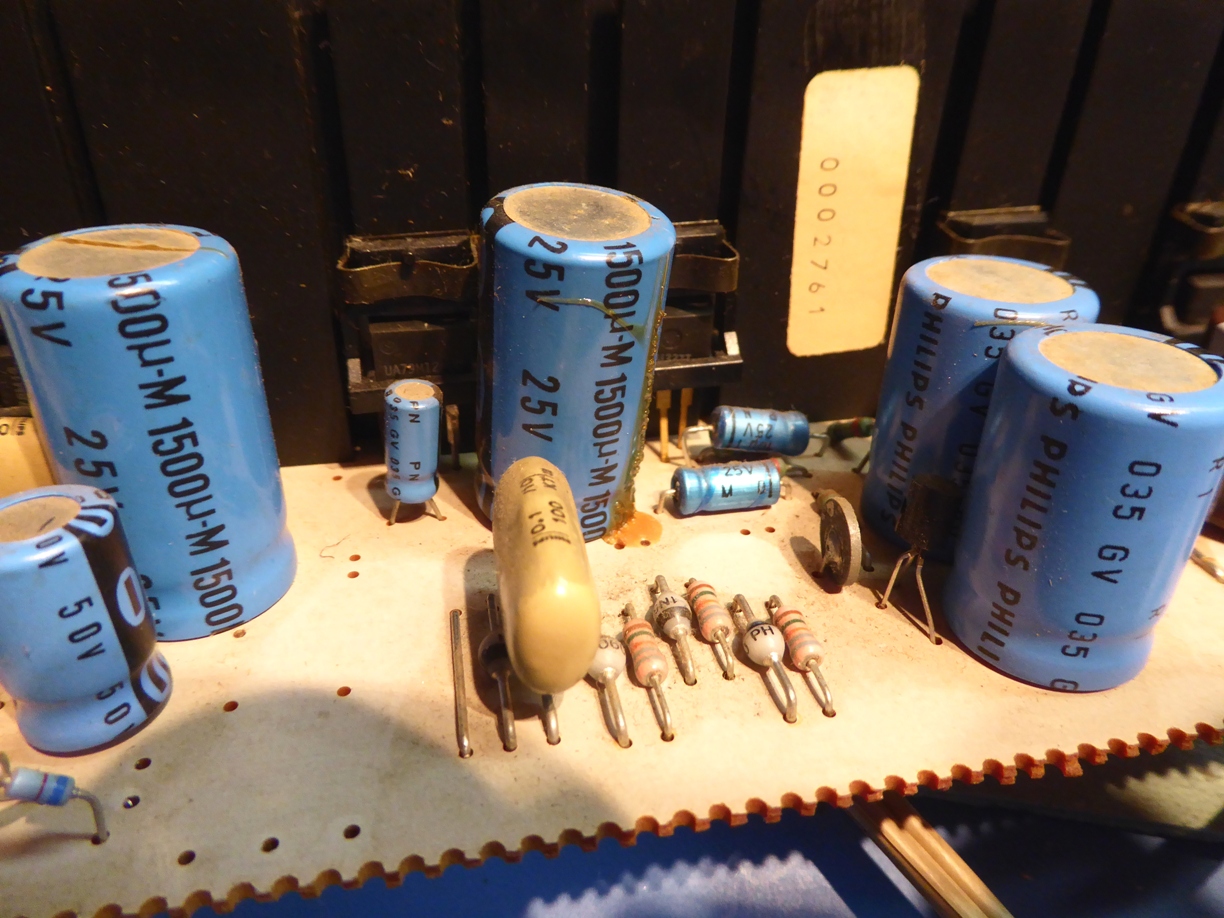
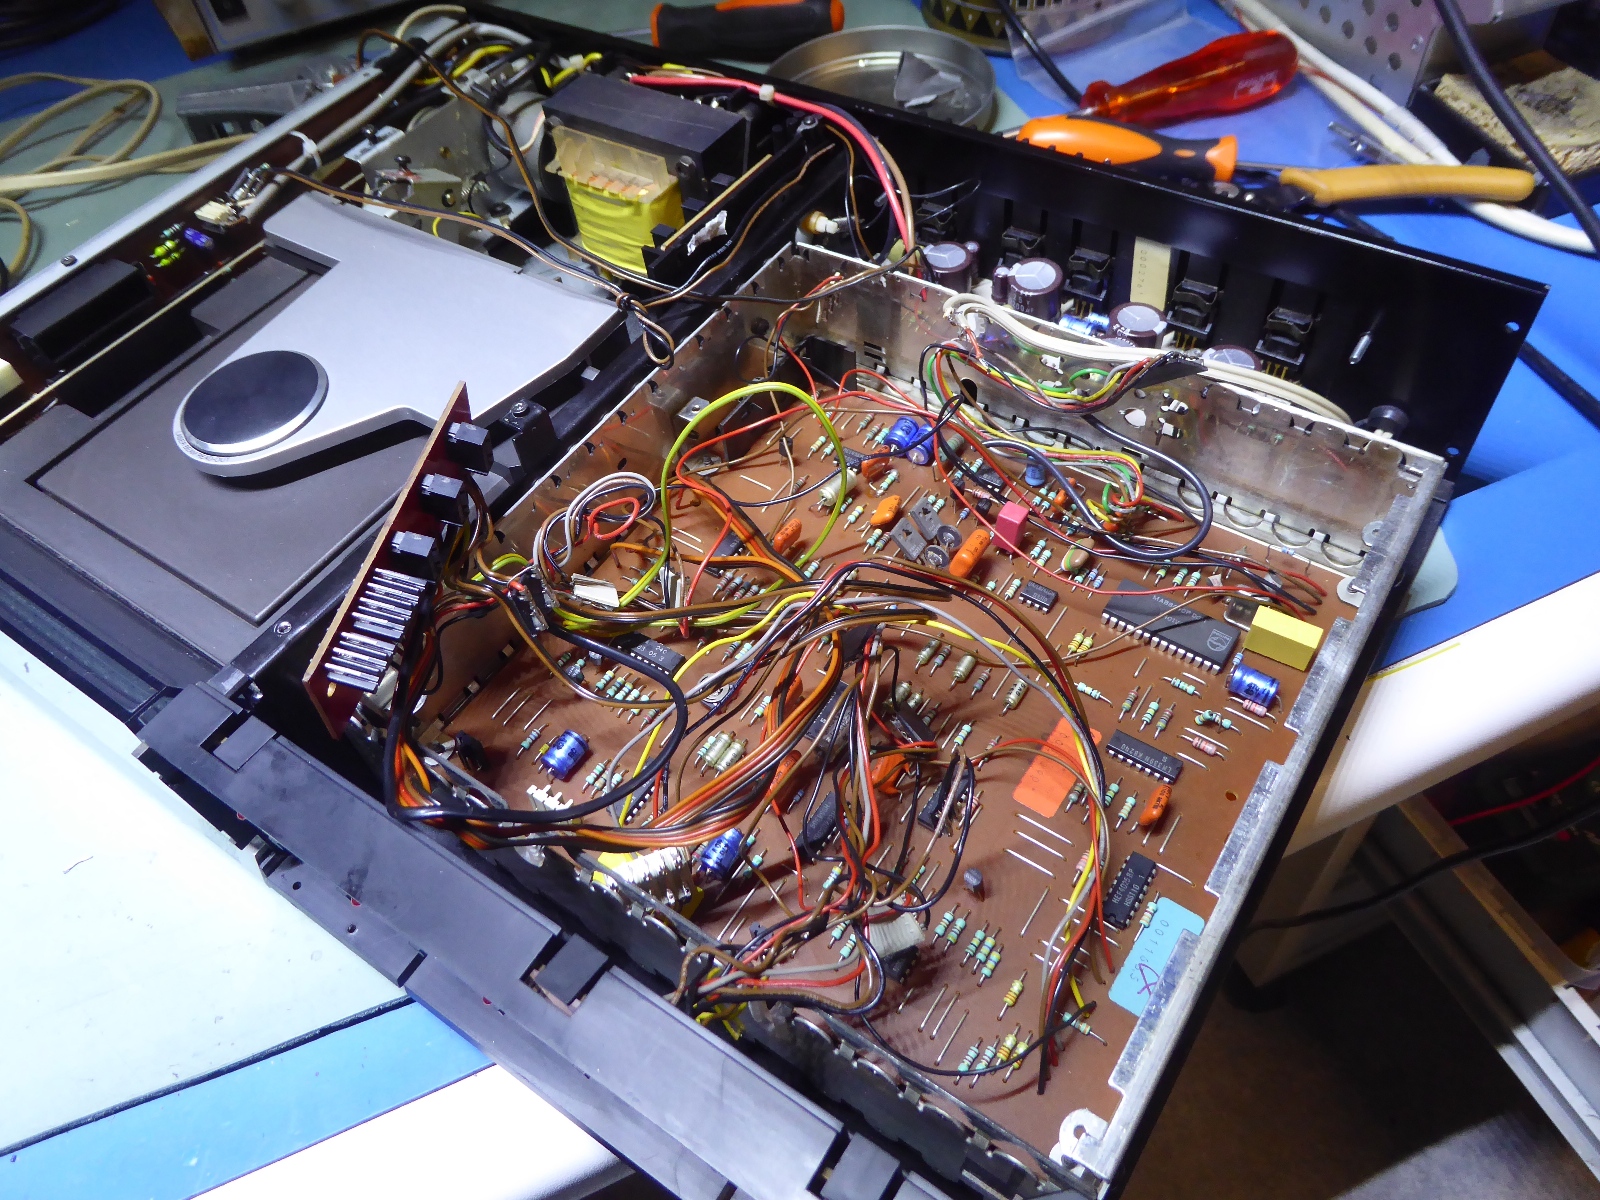
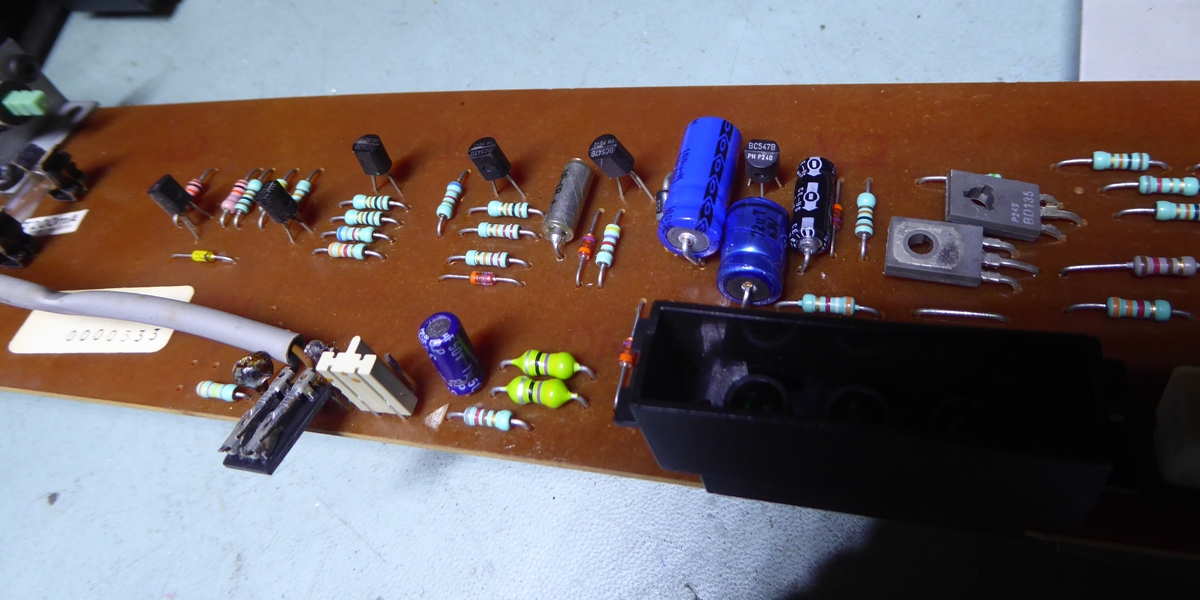
The Philips cd-300 power supply.
During 2019, while operating, it suddenly started humming, hicking and quickly stopping it, it hardly moved the CD tray out.
It was obvious, the power supply was starting defective, and it was decided to recap it. It proved to make the unit work again, and no more effort was done.
One picture of the not recapped yet power supply from back then. Most capacitors were seriously deteriorated due to the heat of adjacent voltage regulators.
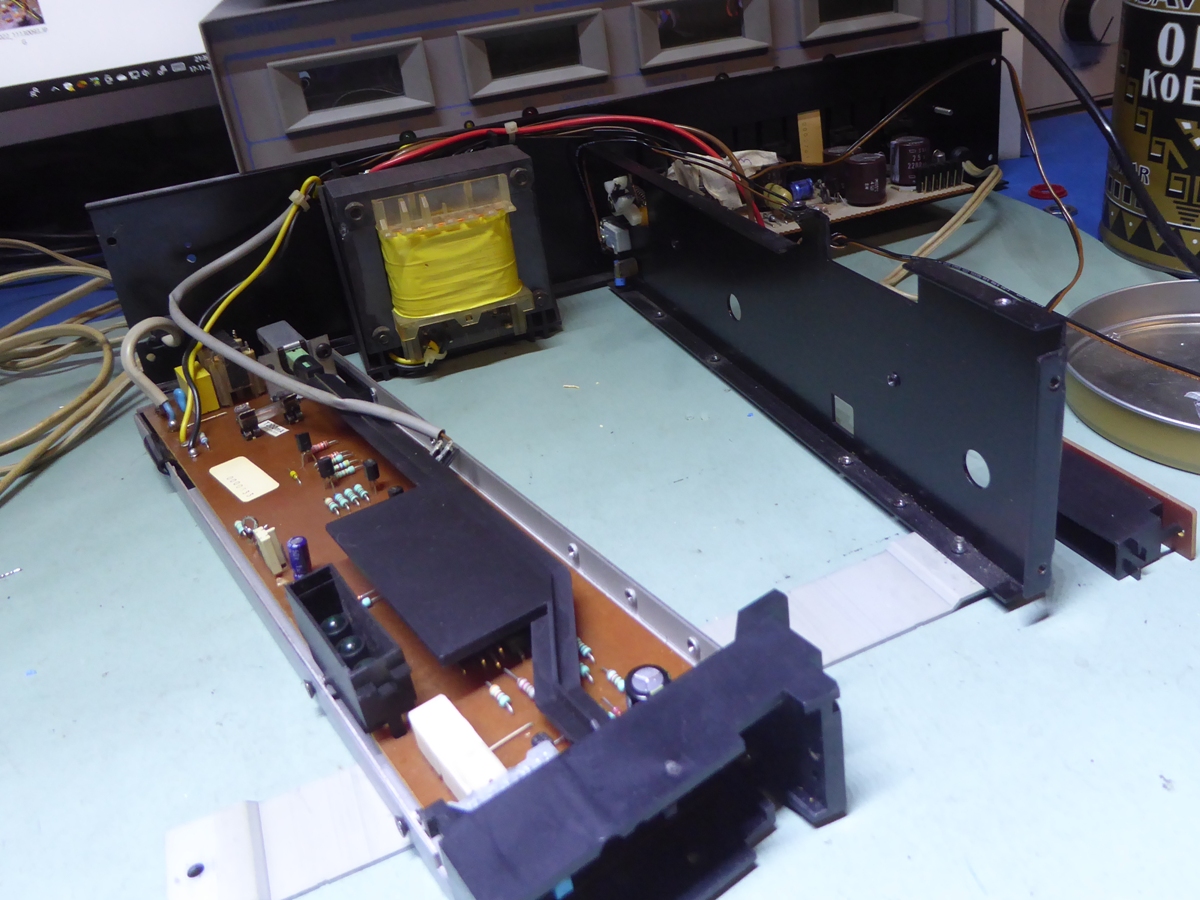
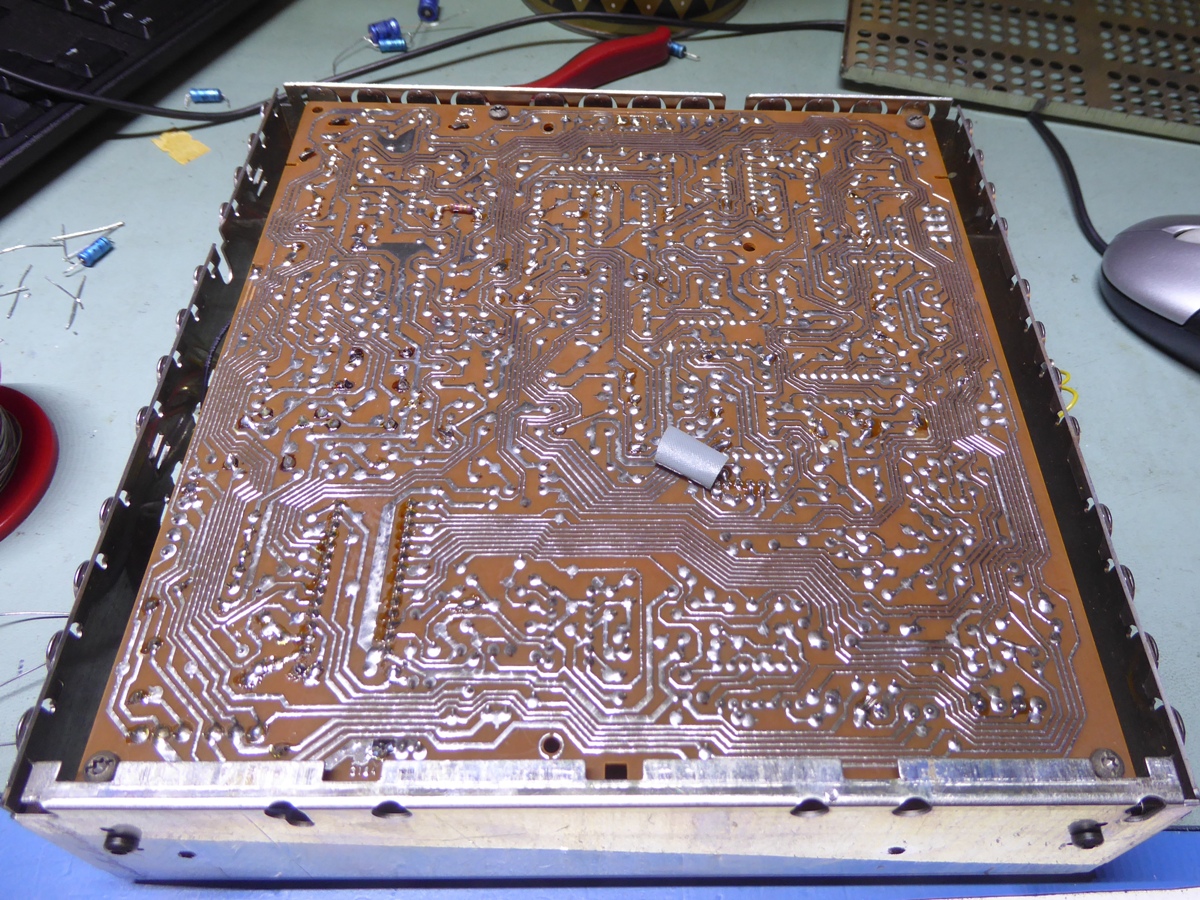
The second page shows how the player chassis looks when taken apart ....
During 2019, I replaced all the power supply electrolytic capacitors, which made it work, again.
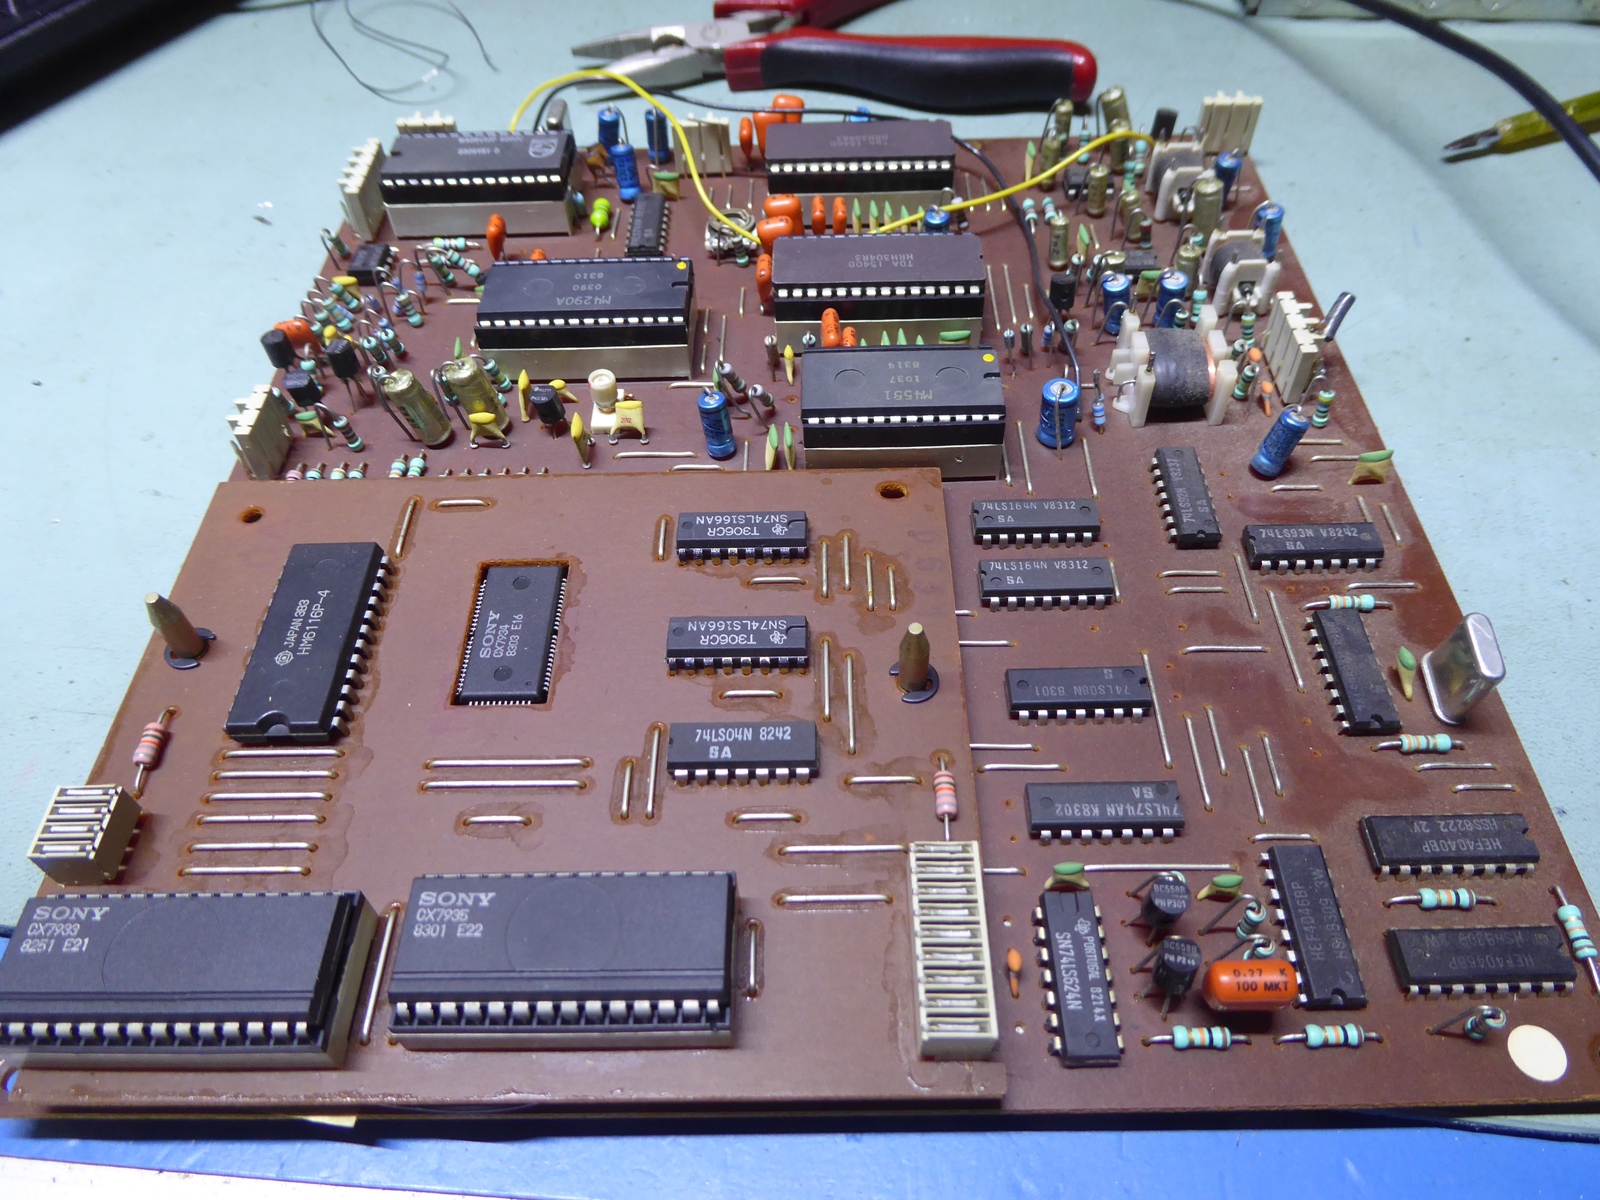
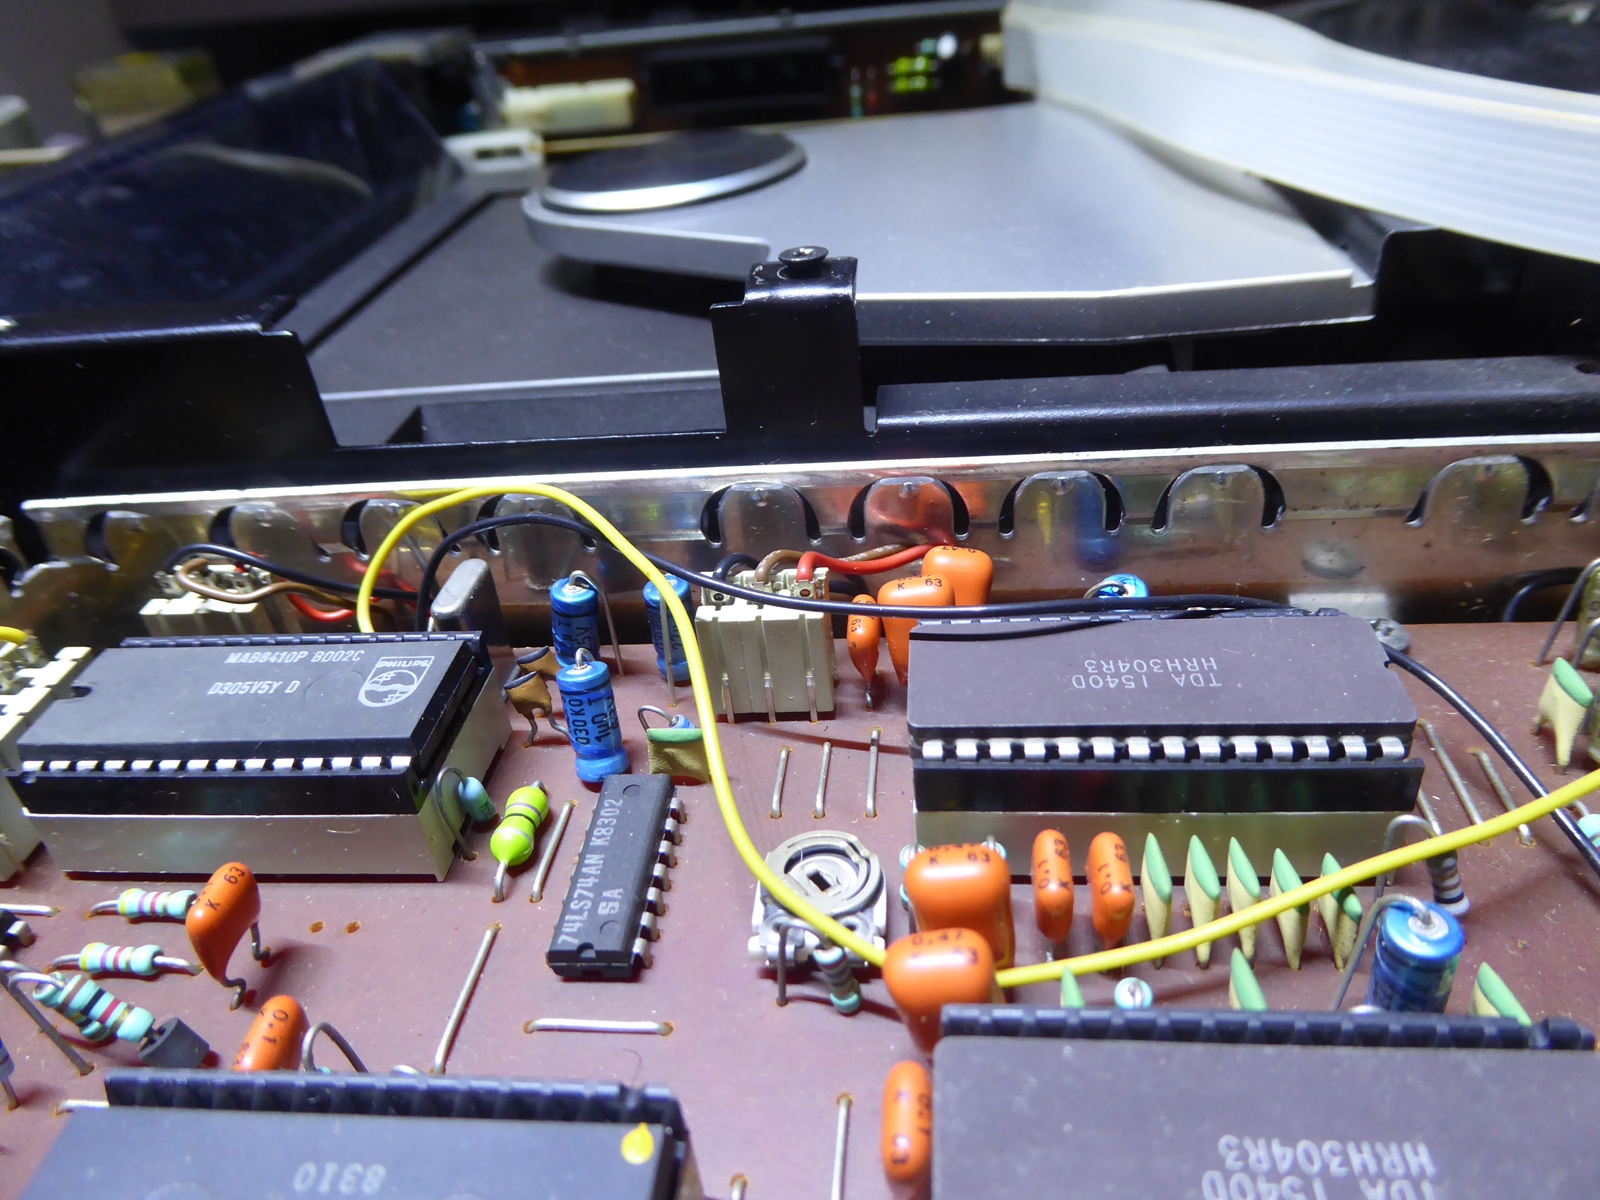
The Philips cd300 decoder card.
This one is in the top of the shielded cage. I replaced all the electrolytic capacitors. Unfortunately, the audio output connection does not look that nice, as it does not have the female connector part. I do not know if it was because of an earlier repair, or not.
On the picture, the capacitors are not replaced, yet. Observe the piggyback card, using Sony chips.
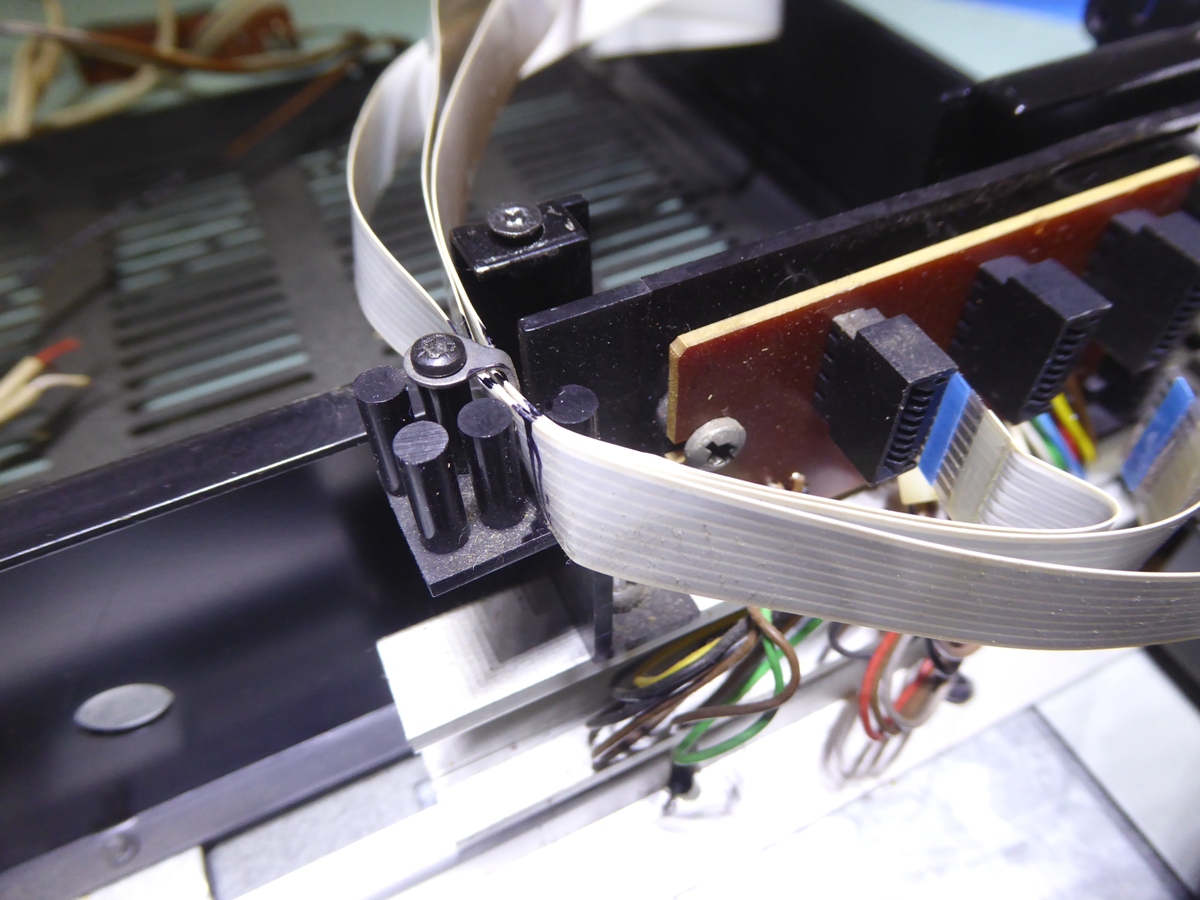
When mounting back, observe the situation there are three connectors having same color sequence on the decodercard at the transport mechanism side, coming from below, not to be intermixed. Making this picture helped, showing how the wires bend.
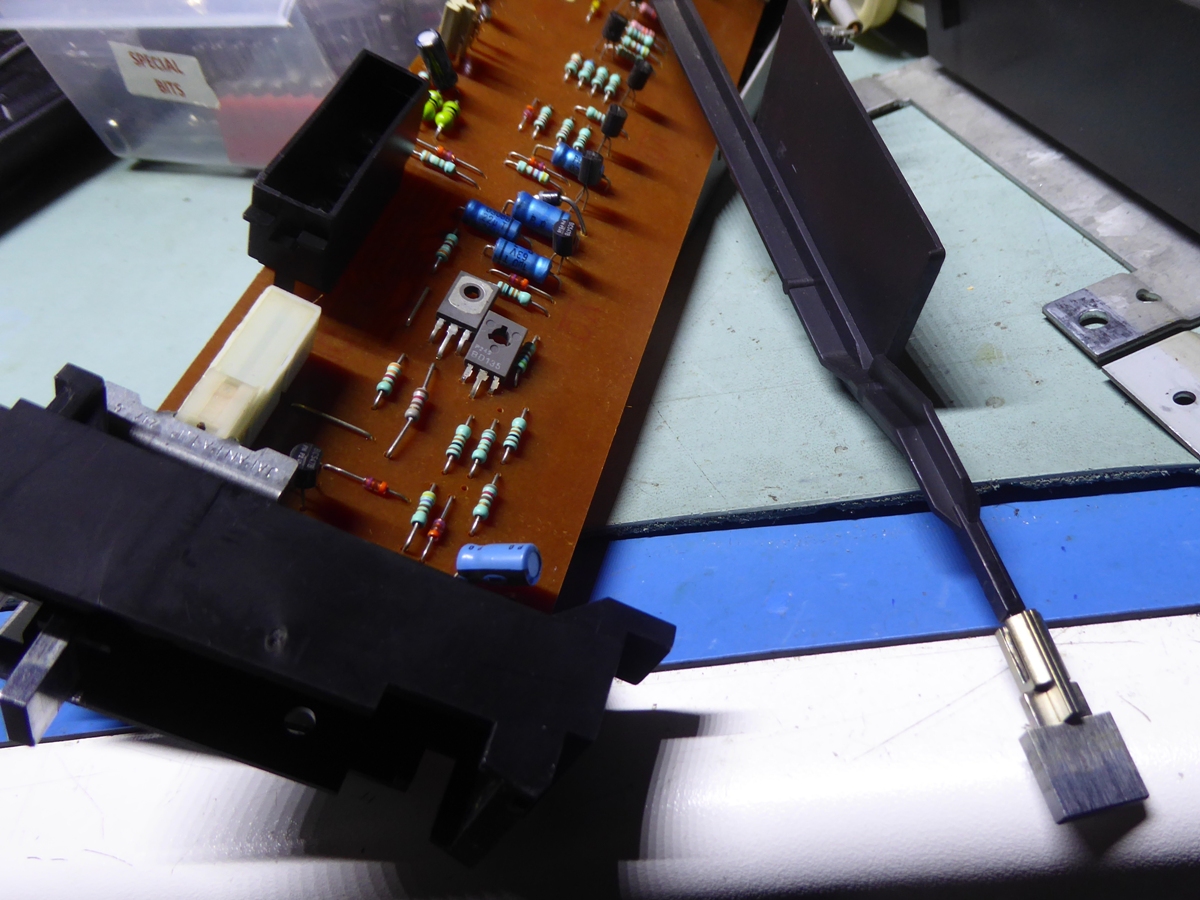
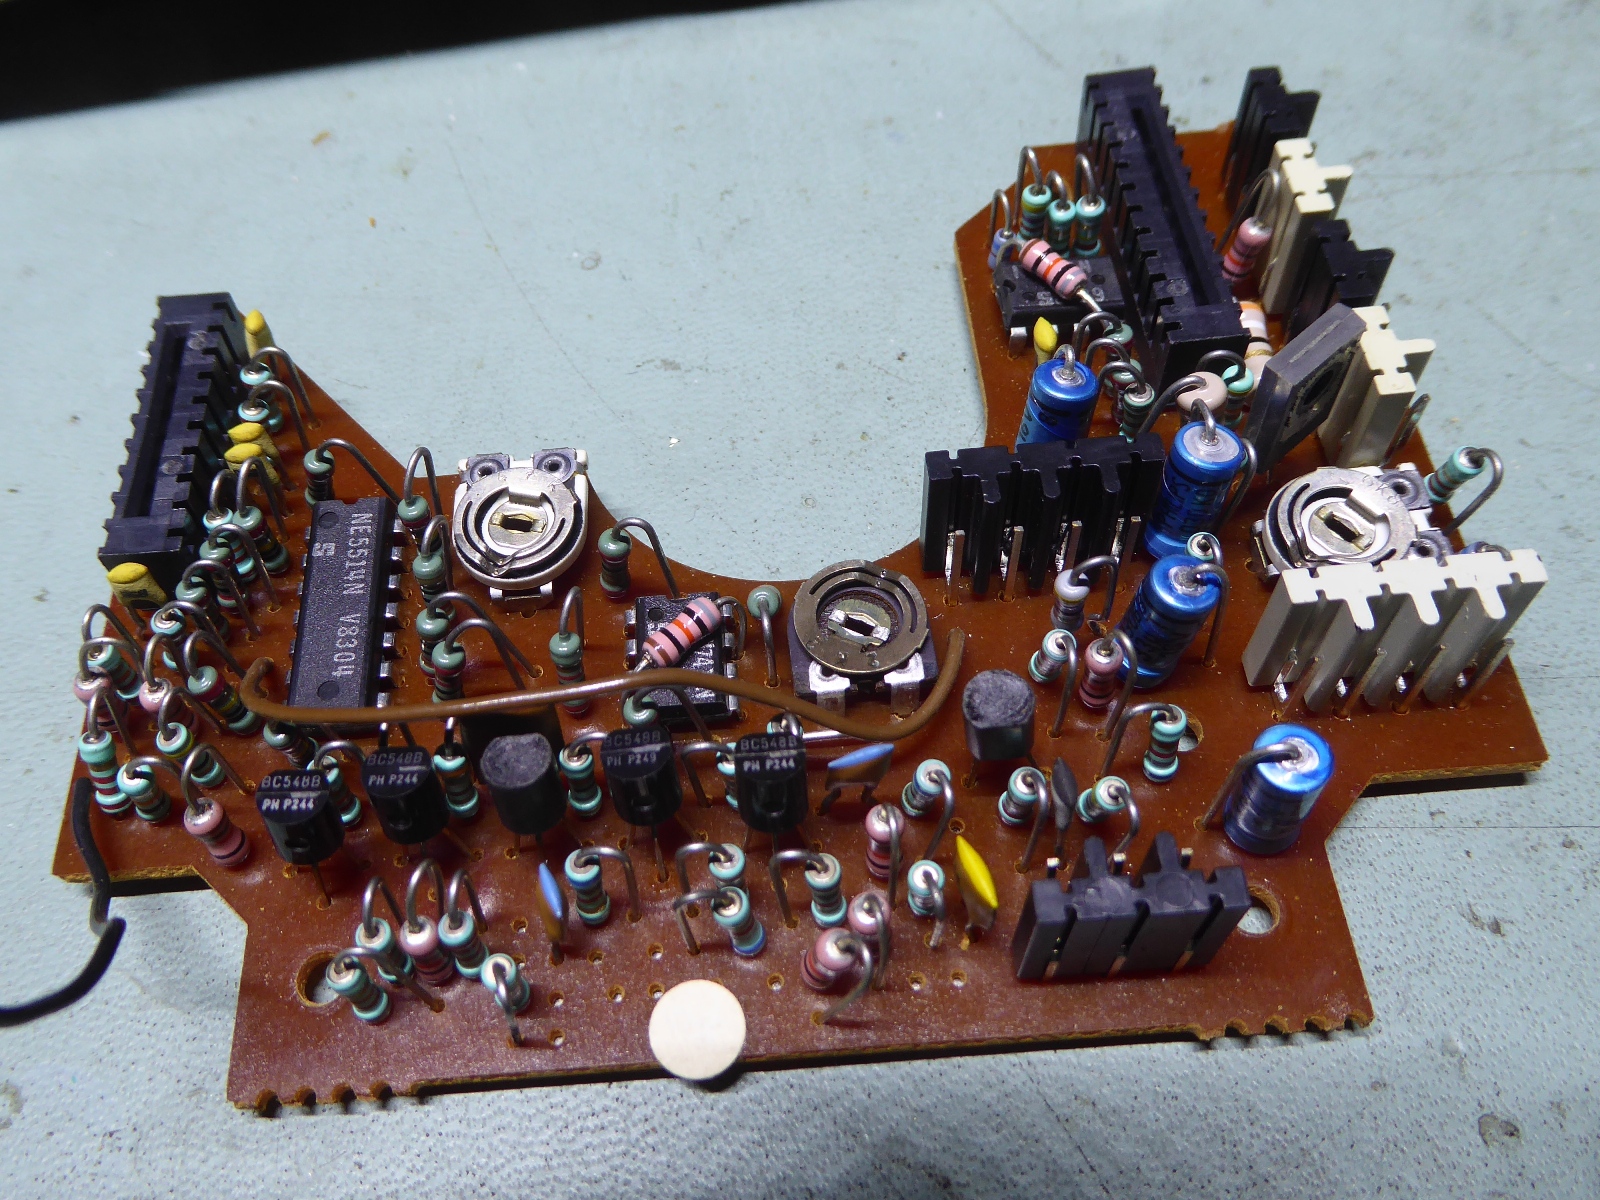
The Philips cd300 servo circuit card.
Removing the cage from the chassis, for recapping, the servo card can be worked on without taking it out of the cage, just remove its bottom plate.
The picture on the right shows it after the recap.
The cd player tray steering.
The tray motor gearing can be more or less fixed into position before disassembly (using tape or sticky goo). Then the bolts at the cable ends can be released. When cabling removed, the whole tray including the CDM unit can be unbolted and removed. Observe the limit switch actuation at the back of the unit when mounting it back!!
To get access to the motor steering circuit card, the power switch actuator plastic beam has to be removed.

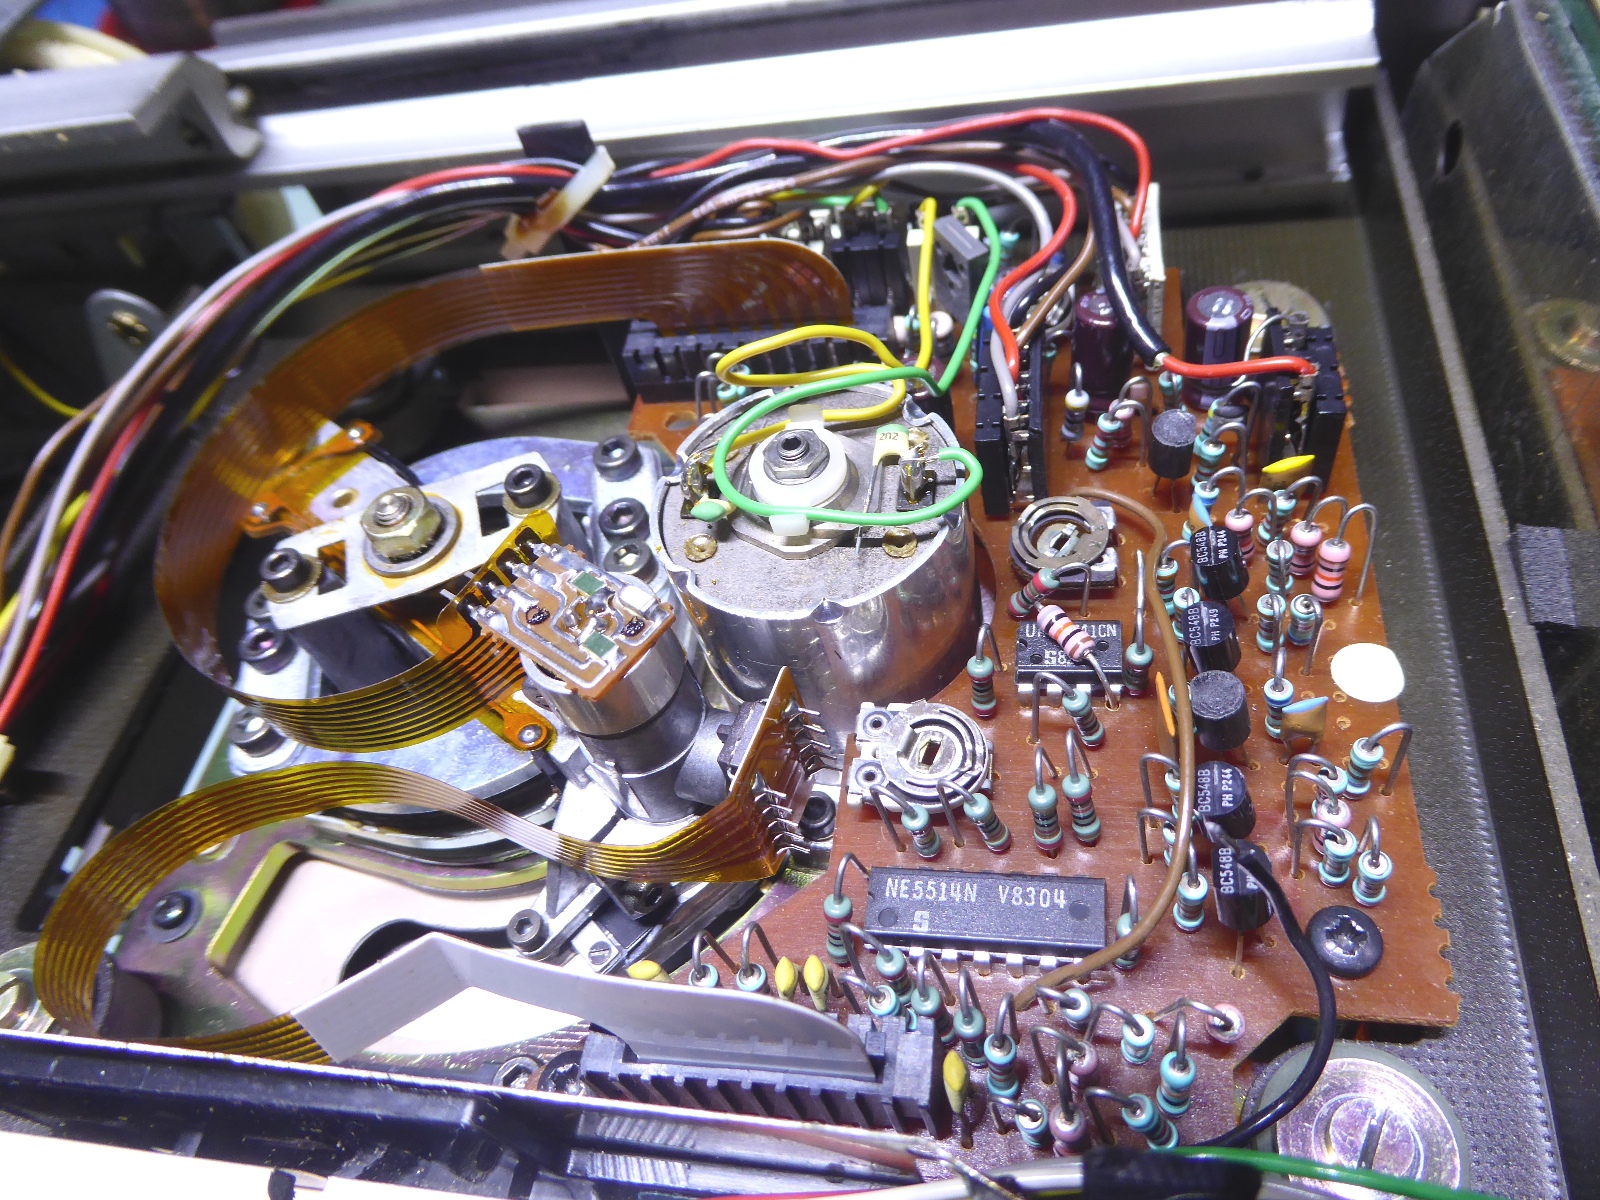
The CDM mechanism.
Working on this CD player, observe the "flexible pcb type" of flat cables. They have to be removed and put back in SAME POSITION afterwards. They move during out and in-movement of the tray and should never be obstructed.
The CDM0 unit circuit card is on the bottom, there were only 4 capacitors to replace.
The CDM-0 pcb mounted again after replacing the capacitors.
![]()
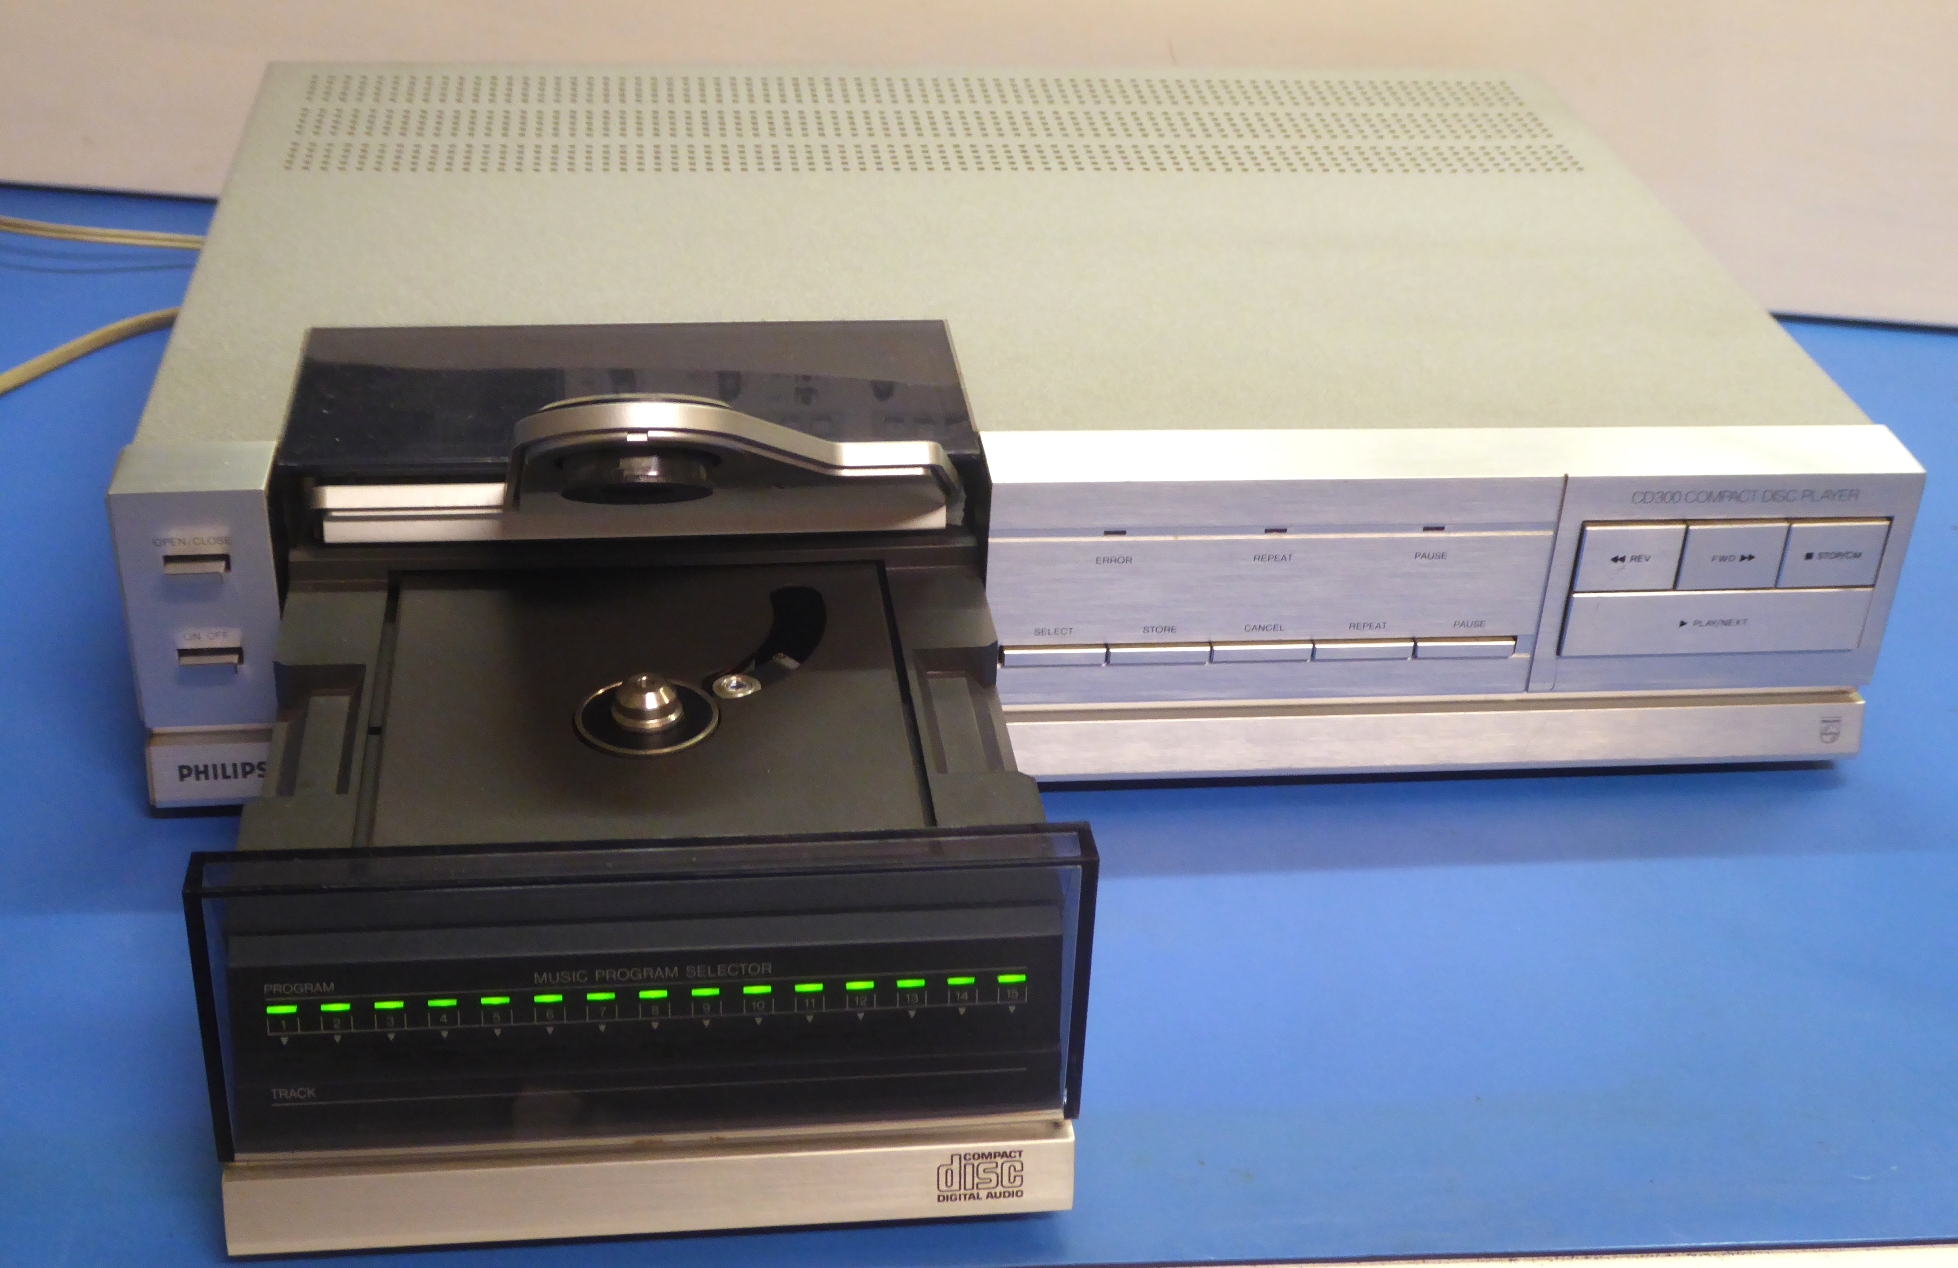
The refurbished CD player, sounding good again.
Additionally, the aggressive in-and-out tray movement, making the whole unit to move itself when on a flat/slippery surface, is gone.
It goes smooth, now. As I never had a CD300 or alike before, I did not even know the earlier very aggressive tray movement was not normal....
"Internet knowledge" sometimes states the motor getting bad, but in reality the power AND speed used is depending on capacitances and resistors. (one tray-timing related resistor is even different from the Marantz lookalike...)
Unfortunately even when new, the tolerances of some electrolytic capacitors on the steering board influence timing and speed too much. I had to reselect one new electrolytic capacitor. Philips should and could have done better during the design phase, here, or at least provide adjustable speed/force and a tuning method.
Ga naar Gerards page / go to Gerards page ---->>> ![]()